How Can We Help?
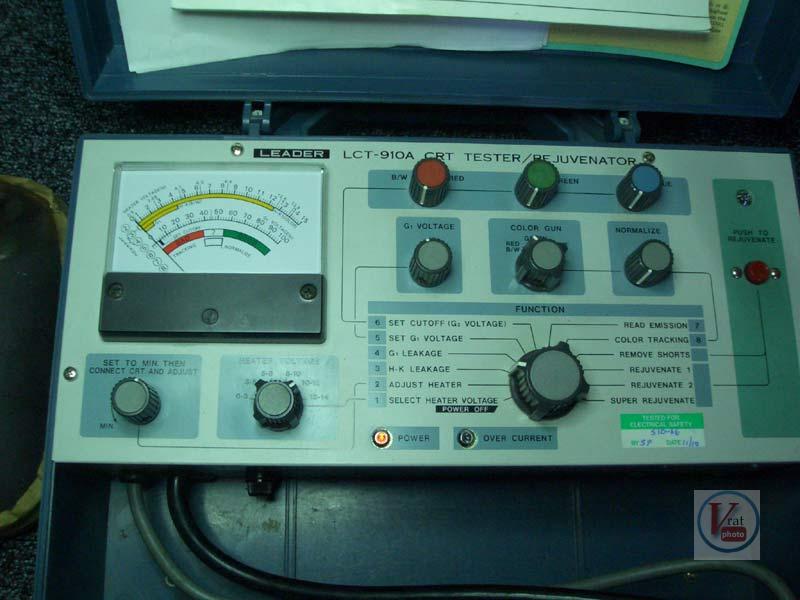
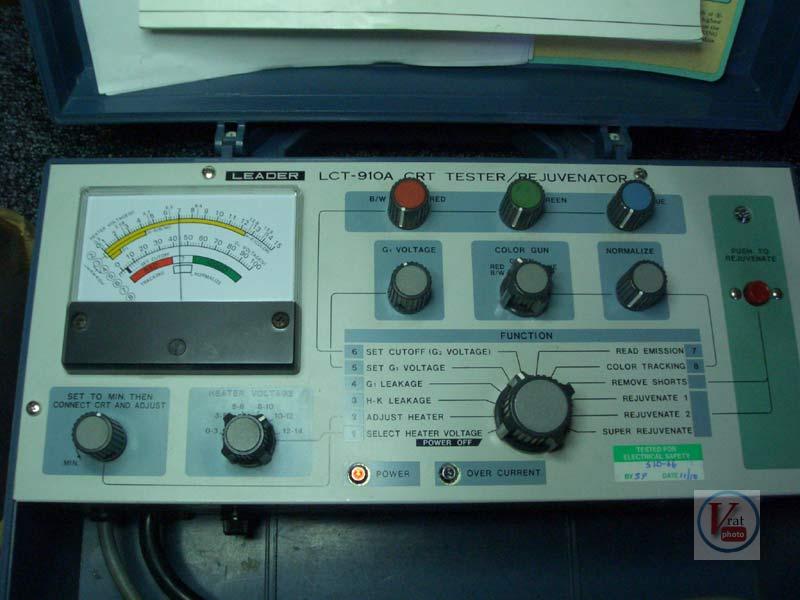
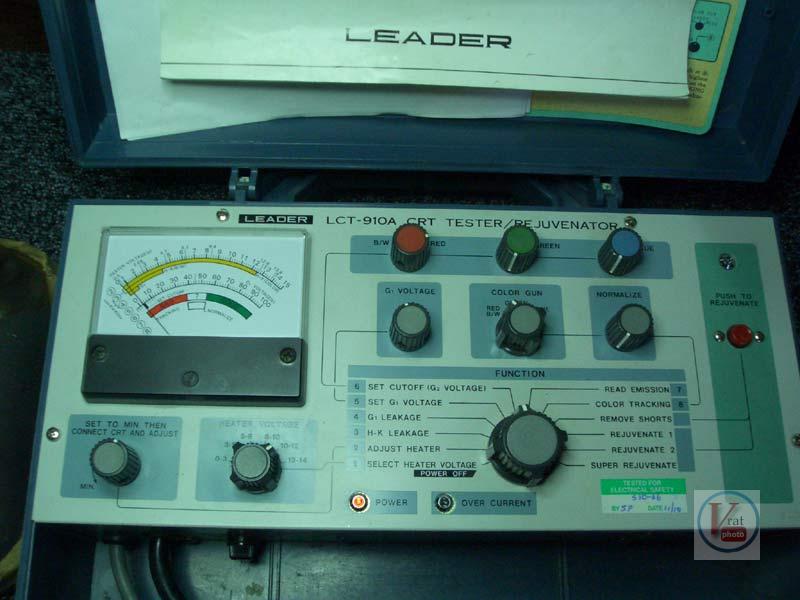
Leader LCT 910A
This article is in response to a query about how to use the Leader LCT 910 CRT tester. This CRT tester is an easy to use device and came highly recommended to me by an ex TV engineer.
I liked it so much I bought two as I could not bare the thought of one failing and not having another. The tester comes with the tube base adapters and is capable of testing early CRT’s all the way up to the last colour tubes. I have also made up my own loom with various connections.
It has on many occasions, brought tubes back from the brink. Cleared a HKS on a PYE V4, a GEC (BT1156) tube revived through the gentle ageing, a Bush TV22 ( MW22-16) and reviving a CRT that had spent 10+ years in a garden. See here
When I get a set I always put the CRT on tester running through the tests to see the condition of the CRT before setting out on the restoration road. Some might say that is like skipping to the end of the book to see how it turned out, I find it saves a lot of wasted time and components.
On With The Test
So here for this example we are going to test a 1963 Perdio Portarama CRT the Mullard AW21-11. This is an 8½” for use in portable transistor receivers. Electrostatic focusing. 90 degree magnetic deflection, A1 400v & final anode of 12kV. The heater is 11.5V. The base is a B8H short spigot
As we are testing B&W tubes the colour gun control must be set to “Red” then the B&W/red control should be set to minimum. Ensure heater voltage is at zero and fine control at minimum.
The tester has a number of steps and if you follow these it makes life simple.
With the unit switched off select your CRT base plug and connect it. Ensure the heater control is set to the lowest point. You don’t want to switch it on with too high a setting and fry your heater before we start. Get into the practice of always returning it to zero once a test is finished.
Switch Position 1(Off).
set heater volts, in this case I’m testing a Mullard AW21-11 and the heater volts need to be 11.5v set the heater voltage to the 10-12v setting
Switch Position 2.
In this position power is now on and you will see the heater volts climb on the meter. The meter has number indicators which correspond to the function you are performing, so in this case we read heater voltage on the top scale that has 2 in the left column.The heater volts rise to 10v and with the fine adjust we bring the voltage to the correct 11.5v
Switch Position 3.
In this position the tester verifies if there is heater cathode leakage, which can be seen there is not.
Switch Position 4.
This position check for G1 leakage, again nothing untoward.
Switch Position 5.
Here we now have to set the G1 voltage, this is achieved by rotating the G1 control until the meter rises on the scale (5) to the point marked on the scale as indicated by a line which is between 40 & 50.
Switch Position 6.
Now we set the cut-off (G2 voltage), this is achieved by rotating the B&W/red control until the meter rises on the scale (6) to the set cut-off bar.
Switch Position 7.
Now we can read the emission of the tube, as can be seen the AW21-11 is nice and healthy.
Sometimes a tube will read in the red suggesting low emission but if left in this position the tube revives and the needle will move into the green. If not or any shorts then move onto the functions on the right.
The other function are remove shorts and the 3 levels of rejuvenation, which when selected, are activated by the red button.
Another good way to revive a tube without the need to use the rejuvenate, is as follows :-
1) Connect the tester as normal
2) Then set the heater to be 2 volts higher than it’s normal setting.
3) Select reactivate position 2 and let it sit there for 10 mins DO NOT HIT THE RED BUTTON, if you did it could strip the cathode with the heater that high.
This often revives a tired tube without resorting to force.
So there we have it a great tester they often come up on e-bay and I highly recommend it.


